Why Build Instagram Tools in 2025?
Instagram remains one of the most powerful platforms for content creators and digital marketers. However, Instagram’s native analytics are limited to business accounts, and accessing data programmatically requires understanding the Instagram Graph API—Meta’s official interface for integrating Instagram functionality into applications.
Building custom Instagram tools has genuine business potential. Whether you’re creating analytics dashboards, content scheduling applications, or engagement tracking systems, the demand from creators is substantial. This guide walks through the actual process of setting up Instagram Graph API and building a working application, based on current Meta platform standards.
The journey from idea to deployed application involves several technical phases. Rather than providing theoretical knowledge, this guide focuses on practical implementation using industry-standard tools and approaches.
Prerequisites & What You’ll Need
Before starting, you should have:
- Basic understanding of JavaScript and web development concepts
- Familiarity with command-line interfaces (Terminal on Mac/Linux, CMD on Windows)
- An Instagram Business or Creator account (personal accounts don’t support API access)
- A Facebook Developer account (required for API credentials)
- Basic HTML, CSS, and JavaScript knowledge
- Willingness to read Meta’s API documentation thoroughly
Total investment required: Your time. The technical infrastructure can be built entirely with free or low-cost services. Instagram Graph API itself is free to use within reasonable limits, though production-scale applications may incur costs.
Phase 1: Setting Up Instagram Graph API
Understanding Instagram Graph API Architecture
Instagram Graph API operates as a REST interface managed through Meta’s developer platform. Rather than interacting directly with Instagram, you communicate through Facebook’s Graph API infrastructure, which provides access to Instagram data through standardized endpoints.
The authentication flow works through OAuth 2.0, meaning users grant your application permission to access specific Instagram data. This approach prioritizes user privacy while enabling legitimate application development.
Step 1: Create a Facebook Developer Account
Start by visiting developers.facebook.com. If you don’t have a Facebook account, you’ll need to create one. The registration process requires identity verification through Meta’s developer approval system.
During setup, Meta will ask about your intended use case. Be specific—mentioning Instagram analytics and creator tools is appropriate and won’t trigger restrictions. Meta actively supports legitimate developer applications.
Step 2: Create a New Application
In the developer dashboard, select “Create App.” Choose “Business” as the app type. Complete the application questionnaire accurately. Key details to remember:
- Your App ID (a unique numerical identifier)
- Your App Secret (keep this private—never commit to version control)
- Your API version (always use the current stable version, currently v18.0+)
Step 3: Add Instagram Graph API Product
From your app dashboard, add the Instagram Graph API product. This enables Instagram-specific endpoints. You’ll need to connect your Instagram Business account. If you only have a personal account, convert it through Instagram settings: Settings → Account → Switch to Professional Account.
✅ API Credentials Ready
You now have App ID and App Secret. These are your authentication foundation. Store them securely—they’re equivalent to passwords for your application.
Step 4: Configure OAuth Redirect URIs
OAuth requires specifying where Instagram should redirect users after authentication. In your app settings, add redirect URIs for both development and production:
Development: http://localhost:3000/auth/callback Production: https://yourdomain.com/auth/callback
These URLs must be exact—even trailing slashes matter. When you authenticate, Instagram will redirect to these exact addresses.
Phase 2: Development Environment Setup
Installing Node.js and npm
Download Node.js from nodejs.org. This provides both Node.js and npm (Node Package Manager). After installation, verify success by opening your terminal and running:
node –version npm –version
Both commands should return version numbers if installation succeeded.
Creating Your Project Structure
Create a new directory for your project and initialize it:
mkdir instagram-analytics-tool cd instagram-analytics-tool npm init -y
This creates package.json, which tracks your project’s dependencies. Install the necessary packages:
npm install express axios dotenv cors
Managing Sensitive Credentials
Create a .env file in your project root to store credentials securely:
APP_ID=your_app_id_here APP_SECRET=your_app_secret_here REDIRECT_URI=http://localhost:3000/auth/callback PORT=3000
⚠️ Security Critical
Add .env to your .gitignore file immediately. Committing credentials to GitHub or any public repository is a severe security vulnerability. Your App Secret should never be shared or exposed publicly.
Phase 3: Backend Implementation
Creating Your Express Server
Create server.js, which handles OAuth flow and API requests:
const express = require(‘express’); const axios = require(‘axios’); require(‘dotenv’).config(); const cors = require(‘cors’); const app = express(); app.use(express.json()); app.use(cors()); // Initiate Instagram Authentication app.get(‘/auth/instagram’, (req, res) => { const authURL = `https://api.instagram.com/oauth/authorize?client_id=${process.env.APP_ID}&redirect_uri=${process.env.REDIRECT_URI}&scope=user_profile,user_media&response_type=code`; res.redirect(authURL); }); // Handle OAuth Callback app.get(‘/auth/callback’, async (req, res) => { const { code } = req.query; try { const tokenResponse = await axios.post( ‘https://graph.instagram.com/v18.0/access_token’, { client_id: process.env.APP_ID, client_secret: process.env.APP_SECRET, grant_type: ‘authorization_code’, redirect_uri: process.env.REDIRECT_URI, code: code } ); const accessToken = tokenResponse.data.access_token; res.redirect(`/dashboard?token=${accessToken}`); } catch (error) { res.status(500).json({ error: error.message }); } }); const PORT = process.env.PORT || 3000; app.listen(PORT, () => console.log(`Server running on port ${PORT}`));
This code implements the OAuth flow. When users visit /auth/instagram, they’re redirected to Instagram to grant permissions. After authorizing, Instagram redirects back to /auth/callback with an authorization code, which is exchanged for an access token.
Handling API Requests
Add endpoints to retrieve actual Instagram data. For example, fetching user profile information:
app.get(‘/api/user/profile’, async (req, res) => { const { access_token } = req.query; try { const response = await axios.get( ‘https://graph.instagram.com/v18.0/me’, { params: { fields: ‘id,username,name,biography,profile_picture_url,followers_count’, access_token: access_token } } ); res.json(response.data); } catch (error) { res.status(500).json({ error: error.message }); } });
This endpoint retrieves user profile data—a fundamental building block for any Instagram analytics tool.
Phase 4: Frontend & Local Testing
Creating the User Interface
Create a public/index.html file for your frontend:
<!DOCTYPE html> <html> <head> <title>Instagram Analytics Tool</title> <style> body { font-family: -apple-system, BlinkMacSystemFont, ‘Segoe UI’, sans-serif; display: flex; align-items: center; justify-content: center; min-height: 100vh; background: linear-gradient(135deg, #667eea 0%, #764ba2 100%); margin: 0; } .container { background: white; padding: 40px; border-radius: 12px; text-align: center; box-shadow: 0 10px 40px rgba(0,0,0,0.2); } button { background: #3b82f6; color: white; padding: 12px 24px; border: none; border-radius: 6px; font-size: 16px; cursor: pointer; margin-top: 20px; } </style> </head> <body> <div class=”container”> <h1>Instagram Analytics Tool</h1> <p>Connect your Instagram account to view analytics</p> <button onclick=”authenticate()”>Connect Instagram Account</button> </div> <script> function authenticate() { window.location.href = ‘/auth/instagram’; } </script> </body> </html>
Testing Locally
Start your server with:
node server.js
Visit http://localhost:3000 in your browser. Click the authentication button. You’ll be redirected to Instagram’s login page. After authenticating, check that you receive an access token.
💡 Troubleshooting
If you receive a “redirect URI mismatch” error, ensure your .env file exactly matches what you configured in Meta’s developer dashboard.
Phase 5: Deploying to Production
Hosting Considerations
Several hosting platforms support Node.js applications. Hostinger provides reliable hosting starting around ₹300/month with full Node.js support. After purchasing hosting:
- Upload your project files through File Manager
- Configure Node.js application in cPanel
- Update REDIRECT_URI in your .env to your production domain
- Update redirect URIs in Meta’s developer dashboard
Verify your deployed application works by visiting your domain and completing the authentication flow.
Security & Best Practices
Protecting Access Tokens
Access tokens are sensitive—they provide programmatic access to user accounts. Never expose them in browser console, log files, or version control. Always transmit them over HTTPS.
Rate Limiting Compliance
Instagram Graph API enforces rate limits. Check Meta’s documentation for your app tier’s specific limits. Implement request queuing to avoid hitting limits during peak usage.
User Data Privacy
If your application stores user data, ensure compliance with local privacy regulations (GDPR in Europe, CCPA in California, etc.). Always provide clear privacy policies explaining what data you collect and how you use it.
Implementation Checklist
- Create Facebook Developer Account
- Create application and obtain App ID/Secret
- Add Instagram Graph API product
- Connect Instagram Business Account
- Configure OAuth Redirect URIs
- Install Node.js and npm
- Create project directory and package.json
- Install dependencies (express, axios, dotenv, cors)
- Create .env file with credentials
- Write Express server with OAuth endpoints
- Create frontend HTML/CSS/JavaScript
- Test locally on localhost:3000
- Buy domain and hosting
- Upload files to production server
- Update .env for production
- Update redirect URIs in Meta dashboard
- Test full authentication flow in production
- Implement error handling and logging
- Set up monitoring for API errors
- Document your application’s API
Realistic Timeline & Effort
If you have development experience:
| Phase | Time Required | Difficulty |
|---|---|---|
| API Setup | 1-2 hours | Easy |
| Environment & Dependencies | 30 minutes | Easy |
| Backend Development | 3-4 hours | Medium |
| Frontend & Testing | 2-3 hours | Medium |
| Deployment | 1-2 hours | Medium |
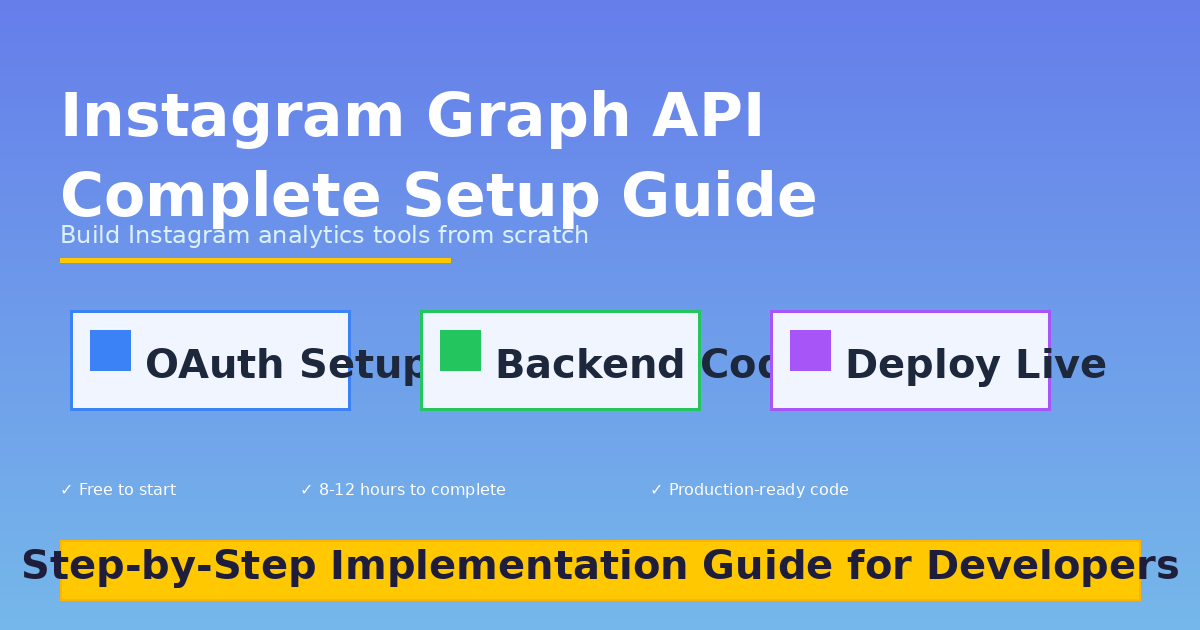
| Total | 8-12 hours | Intermediate |
Common Mistakes to Avoid
Committing Credentials to Version Control
Always use .env files and add them to .gitignore. This is the most critical security measure.
Mismatched Redirect URIs
Redirect URI strings must match exactly between your code and Meta’s developer dashboard. Even minor differences cause authentication failures.
Ignoring API Rate Limits
Building without understanding Meta’s rate limits leads to sudden application failures in production. Read and plan for these limits from the start.
Insufficient Error Handling
Network requests fail. API endpoints change. Quotas get exceeded. Build comprehensive error handling rather than assuming success.
Ready to Build?
Follow this guide step-by-step and you’ll have a functioning Instagram analytics application. The Instagram ecosystem offers genuine opportunities for builders who understand its technical foundations.Start Phase 1
Recommended Resources
Meta’s official documentation is comprehensive and constantly updated:
- Instagram Graph API Docs: developers.facebook.com/docs/instagram-api
- OAuth Flow Guide: developers.facebook.com/docs/facebook-login
- API Endpoints Reference: Full endpoint specifications with examples
- Rate Limiting Guidelines: Understanding and planning for API limits
About This Guide
This guide reflects actual Instagram Graph API implementation practices as of 2025. API versions and features change regularly—always verify against Meta’s current documentation before deploying to production.
Building Instagram tools requires genuine technical understanding. This guide provides that foundation, but success ultimately depends on your commitment to learning, testing, and iterating.